
I have a little girl who LOVES to "help". She likes to "help" with washing dishes, chopping vegetable, wiping counters, baking cookies, and pretty much everything else in the kitchen. She used to pull a chair over to the counter and stand on it. I was always nervous about her falling. I'd say "Miss, watch where your feet are" and "be careful" so many times that I got tired of hearing it myself. Then, one day we are doing dishes together and I turn to put a dish away, and she stepped off the chair, just steps right off as she's reaching for something. She falls to the floor in a full-out sprawl, she's wailing, I start crying too! When we pull it together, the first thing she says is "Rachel help Mommy dishes?" and climbs right back up on the chair. Oh my, we needed to figure out something.

My wonderful friend has something like a modified step-stool/tower kind-of-thing, handmade by her father-in-law, for her little girl.
I knew if Miss E loved it and used it, then my little Miss would love something like it too!
I started looking online for building plans. I found out these caged step-stool things are called Learning Towers or Discovery Towers, or even better Little Helper Towers.
Great! I need to build Rachel a Little Helper Tower.


Remember that pile of wood at my parents' farm? Well, I went back to it! This time I chose only new wood in great condition.
Following Ana White's plan, with the help of my brothers and sister (this project was some kind of a family affair, I guess) we made all the cuts and started assembling.
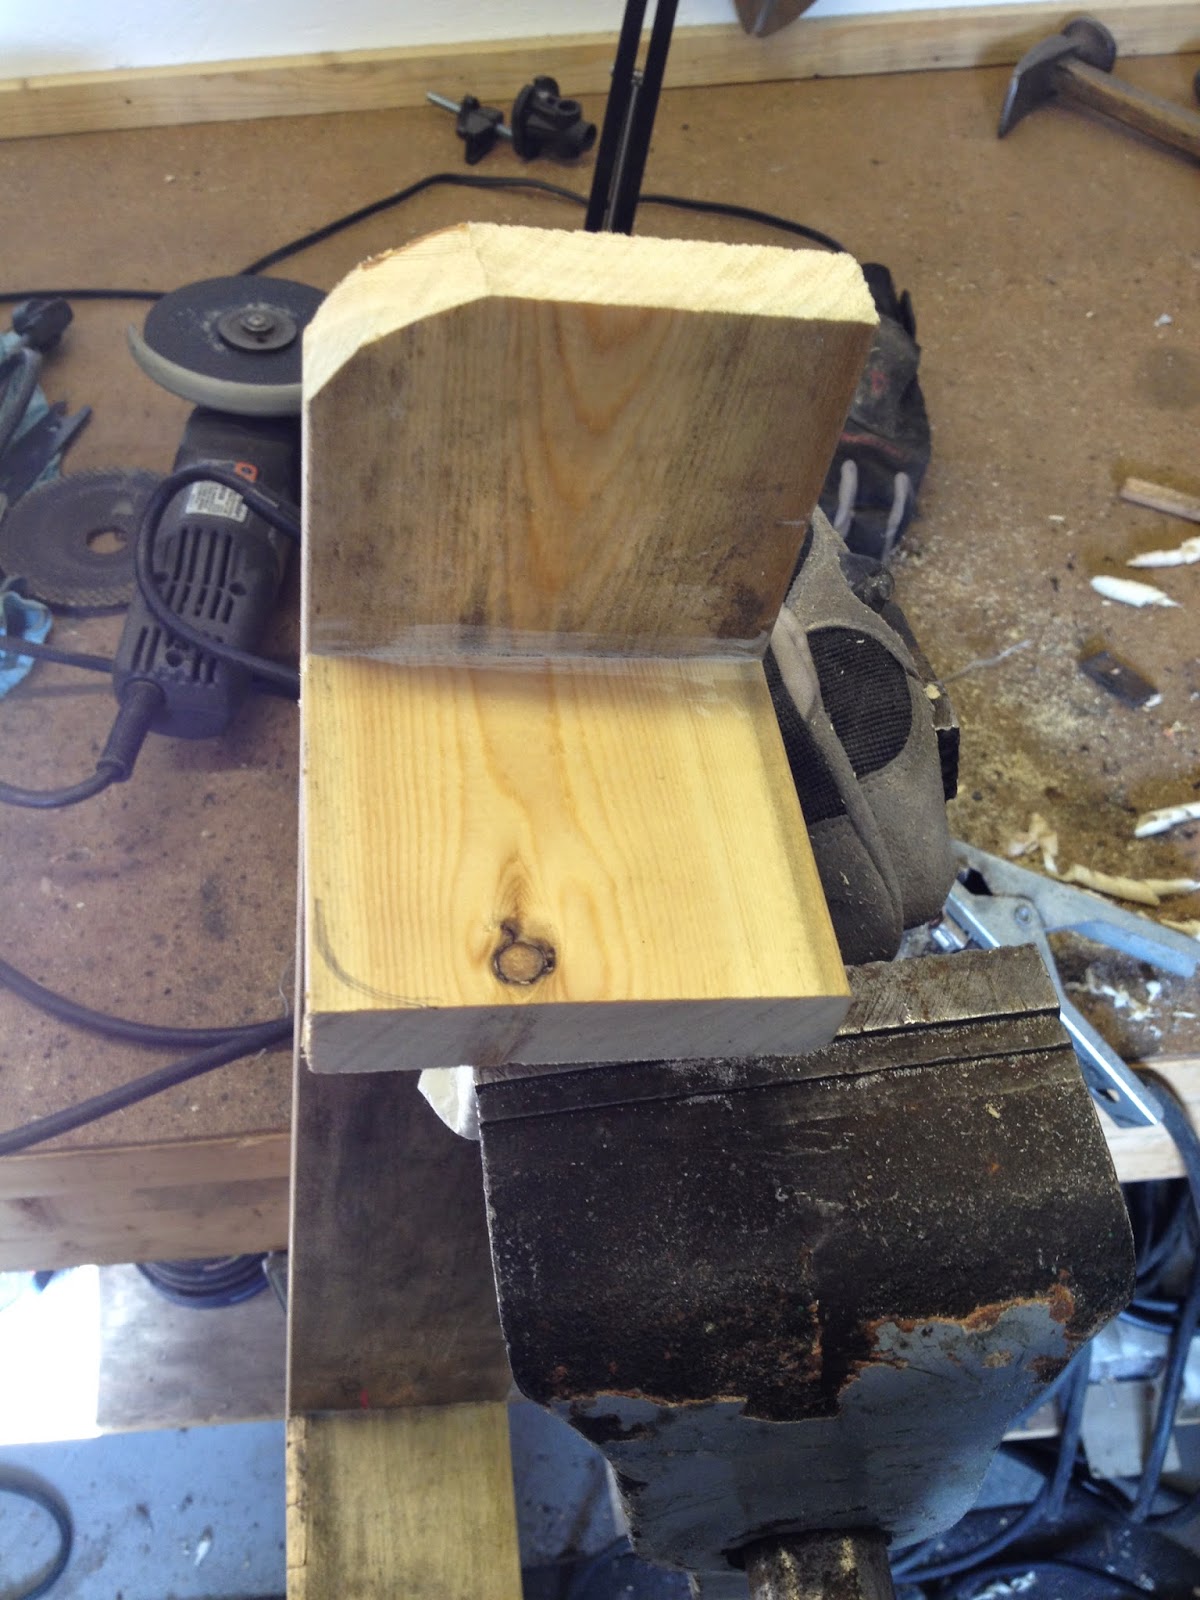
We made a few of our own modifications. We didn't do all the steps in her suggested order, and we did not use a Kreg Jig at all. We used glue and nails, and had no problems with splitting wood. You can see here that we did clamp the sides together initially, to secure it while the glue dried, but then we went ahead and nailed it all together anyway. An added security feature recommended by Grandpa. The two sides came together really quick.


The standing platform base is just two boards together, secured on the backside.

This is a photo of the back of the platform, you can see where we glued and nailed it together.

These are called "tip resistant feet", ummm, so the thing doesn't fall over with your kid inside the cage. The plans indicate these are optional, I decided to take that option.
We made them square first, then rounded the edges. Might have been easier to first round the edges, then build them. Whatever.


Here's Rachel's Uncle Phil rounding the edges with a jigsaw.

I did do some serious sanding later to smooth this over.
Here is Miss Rachel staying busy - and out of the way, with Grandma A, my mother-in-law.

Now we had all four sides and a platform build, we began to put it all together.

Uncle Phil and Auntie Lisa getting things done.

Great team here folks!


It was clamped together overnight to let all the glue dry. The next day I sanded it all smooth. I then painted it white, and brought it in for the girl.


She thought it was awesome!
But, she did ask me "Mommy paint it for you?" and when I asked her, "Why? Don't you like it white?" She said "No."
Together we went shopping for paint, and Rachel picked a deep purple. I put on two coats of purple paint and then asked her, "Is that better?" she said, "I like it Mommy!" 
Now the purple tower has become a fixture in our kitchen, used every day!

~Jess
No comments:
Post a Comment