While these croissants may not be able to compete with those you'd find in a patisserie along the Seine, they easily compare to most mass-produced versions you find close to home. Making croissants isn't that difficult, it just takes a lot of time as you have to roll it, fold it, and let it rise slowly several times.
I saw this on Martha Bakes (one of Martha Stewart's cooking shows on PBS) and thought I'd try it. She has it separated into a few different recipes because the you
make the dough as a starter for a several different items.
Plain croissants,
ham and cheese, almond paste,
chocolate, etc. I made plain ones, ham and cheese, and chocolate this time.
Ingredients:
1/4 cup plus 2 tablespoons warm water
0.6 ounces (17 grams) fresh yeast
2 tablespoons sugar
1 tablespoon salt
1 1/3 cups lukewarm milk
3 1/2 cups plus 1 tablespoon all purpose flour, plus more as needed
1/4 cup vegetable oil
14 ounces European-style unsalted butter
1 large egg (for the egg wash)
My comments on the ingredients:
a) 1/4 cup plus 2 tablespoons of warm water is almost 1/3 cup, so just go with 1/3 cup. I figure that I'm probably not that accurate when measuring the 1/4 cup anyway that it's going to make a huge difference to the overall recipe.
b) I wasn't using fresh yeast and I don't even know where to buy that. But I found out that fresh yeast is usually sold in cakes and the conversion is one 0.6 ounce fresh yeast cake is equivalent to one package of dry yeast. (
http://www.breadworld.com/FAQ.aspx)
c) Breads are very forgiving in that you can adjust the water and flour slightly to get the consistency you need, so don't worry about being so accurate on that measurement either. You keep adding flour as you're rolling it out anyway.
d) I didn't use European-style butter, though I didn't try too hard to find it. Several baking sites say it does
make the pastry lighter, so next time I might try to track it down. I did go with unsalted butter from Superstore, but I had a hard time telling the difference between it and the normal salted butter I have, so I don't know if it made a difference. Unsalted is more expensive.
Directions:

1) In a small bowl, mix together warm water, yeast, and 2 teaspoons sugar. Let stand until yeast and sugar have dissolved, about 5 minutes. (You'll see the bubbles forming on the top of so you'll know it's activating.)
2) Place remaining 1 tablespoon plus 1 teaspoon sugar and 1 tablespoon salt in a small bowl and add the warm milk. Stir to combine and let stand until dissolved, about 5 minutes.

3) Place 3 1/2 cups flour in a large bowl. Add yeast mixture, milk mixture, and oil. Using a rubber spatula, cut and press flour into liquid to form a sticky dough.
4) Turn dough out onto a a generously floured work surface; sprinkle dough with additional flour and let stand 2 to 3 minutes. Using floured hands and a bench scraper, knead dough by lifting near the edge and turning it over to the other side. Repeat this process until dough is smooth and begins to draw back, no more than 10 times.
5) Place dough in large bowl. Cover with plastic wrap pressing directly on surface. Cover bowl with a second piece of plastic wrap. Let stand in a slightly warm place until dough is triple in size and is light and springy when touched, 3 to 4 hours. (A trick I learned from my mom is to just put it in your oven with the light on. It's makes it a bit warmer than room temperature, but not too warm so your bread rises too fast.)
 |
| Covered in the bowl |
 |
| Three hours later |
6) Loosen dough from bowl and turn out onto a lightly floured work surface. Using floured hands, push and pat dough into an 8-by-12 inch rectangle.
7) Fold dough into thirds like a letter.
8) Return dough to bowl and place a layer of plastic wrap directly over dough. Let stand in a warm place until doubled in size (about 1.5 hours) OR transfer bowl to fridge to let rise overnight until doubled in size.
*Notes:
a) At this point I put it on parchment paper on a baking sheet instead of back in the bowl.
b) Clearly I chose the "overnight in the fridge" option.
c) Make sure your plastic wrap is large enough to accommodate the increased size of the dough. Mine was too small this time and I ended up with some dry spots in the dough.
This is now the next morning.

9) Beat butter and remaining 1 tablespoon flour until very smooth and well combined. (I left the butter out overnight so it was soft for this part.)
10) Pat dough lightly and thoroughly in the bowl/on the sheet to deflate air bubbles. Transfer dough to a lightly floured surface and using floured hands or a floured rolling pin, push/pat/roll dough into an 11-by-16 inch rectangle. If any air bubbles form, gently pop with a clean pushpin.
11) Spread butter mixture evenly over 2/3 of dough, leaving 1/4-inch border around the sides.

12) Fold the bottom up then the top down making three even layers of dough. Square off corners (I didn't do that).
13) Place dough with one of the short ends facing you.
14) Quickly roll the dough in even strokes, working middle-to-top then middle-to-bottom, into a 20-by-9 inch rectangle.
15) Again, fold bottom up and top down into three even layers. Wrap dough in plastic, transfer to fridge and refrigerate 1.5 hours.
16) Unwrap dough and place on a lightly floured surface. Sprinkle with flour and with a rolling pin, tap dough several times to deflate.
17) Roll dough into a 20-by-9 inch rectangle, making sure the counter and the dough are lightly dusted with flour so it doesn't stick. The butter must be able to extend in the layers of the dough, so you may need to let dough stand 10 minutes at room temperature to soften the butter a bit.

(I trimmed the ends a bit here before doing the next step. Since this is the last time of creating layers, I wanted it a little more even at this point.)

18) Fold the top and bottom portions of the dough toward the centre, leaving one inch between ends. Fold in half so that the top half covers the bottom, creating four even layers of dough.

19) Wrap dough with plastic wrap and transfer to fridge for another 2 hours.
This is the end of the croissant dough steps.
After the 2 hours are up, use the dough to create whatever you've been dreaming of.

20) Place dough on a lightly floured work surface. Cover and let stand 5-10 minutes until butter is slightly softened. (The lighter bits in the picture are the pieces of butter in the dough).
21) Roll dough out to about a 10-by-18 inch rectangle. Cut in half crosswise. Wrap one half with plastic wrap and transfer to fridge while you work with the remaining piece.
22) With one of the longer sides facing you, halve dough lengthwise to make two 8-by-20 inch rectangles.

23) Use a pizza cutter to mark 5-inch increments along the bottom edge of the dough. At the top, measure 2 1/2 inches from the left side, then 5-inches increments the rest of the way.
24) Using a ruler cut dough into triangles. reserving any dough that is not in a triangle shape. You should get seven triangles from each strip of dough.
25) Gently stretch dough to about 1.5 times their length and gently roll the dough, starting at the large side of the triangle. Adjust the roll so the point is underneath and curve the sides into a crescent shape the same way you did the roll (i.e. if you rolled away, curve the sides away from you; if you rolled towards, curve sides towards).
26) Line baking sheets with parchment paper, place crescents on each sheet with plenty of space between them. Brush tops with egg wash, reserving any remaining. (The original recipe says to use parchment paper. I tried with and without and it didn't seem to make a difference to the outcome. It also says to place only 4 crescents on a sheet, but I think that's ridiculous as it will take you forever to bake them.)

27) Place narrow drinking glasses, upside-down, between crescents, cover well with plastic wrap, making sure plastic does not touch dough. Let stand in warm place until doubled in size and crescents feel hollow when gently touched, 2 1/2 to 3 hours. (Another note: I've mentioned before that plastic wrap and I don't usually get along, so I just used tea towels.)

28) Preheat oven to 425 degrees. Uncover and remove glasses from baking sheet. Brush croissants with more egg wash, transfer to oven and bake until puffed and golden, about 15 minutes. Transfer to a wire rack to cool.
29) Finally, enjoy!
For the ham and cheese, I cut the dough into squares, layered ham and Swiss cheese, and rolled them up.
With these you have to be really careful to have the end of the roll tucked under as you can see a couple came undone as they baked.
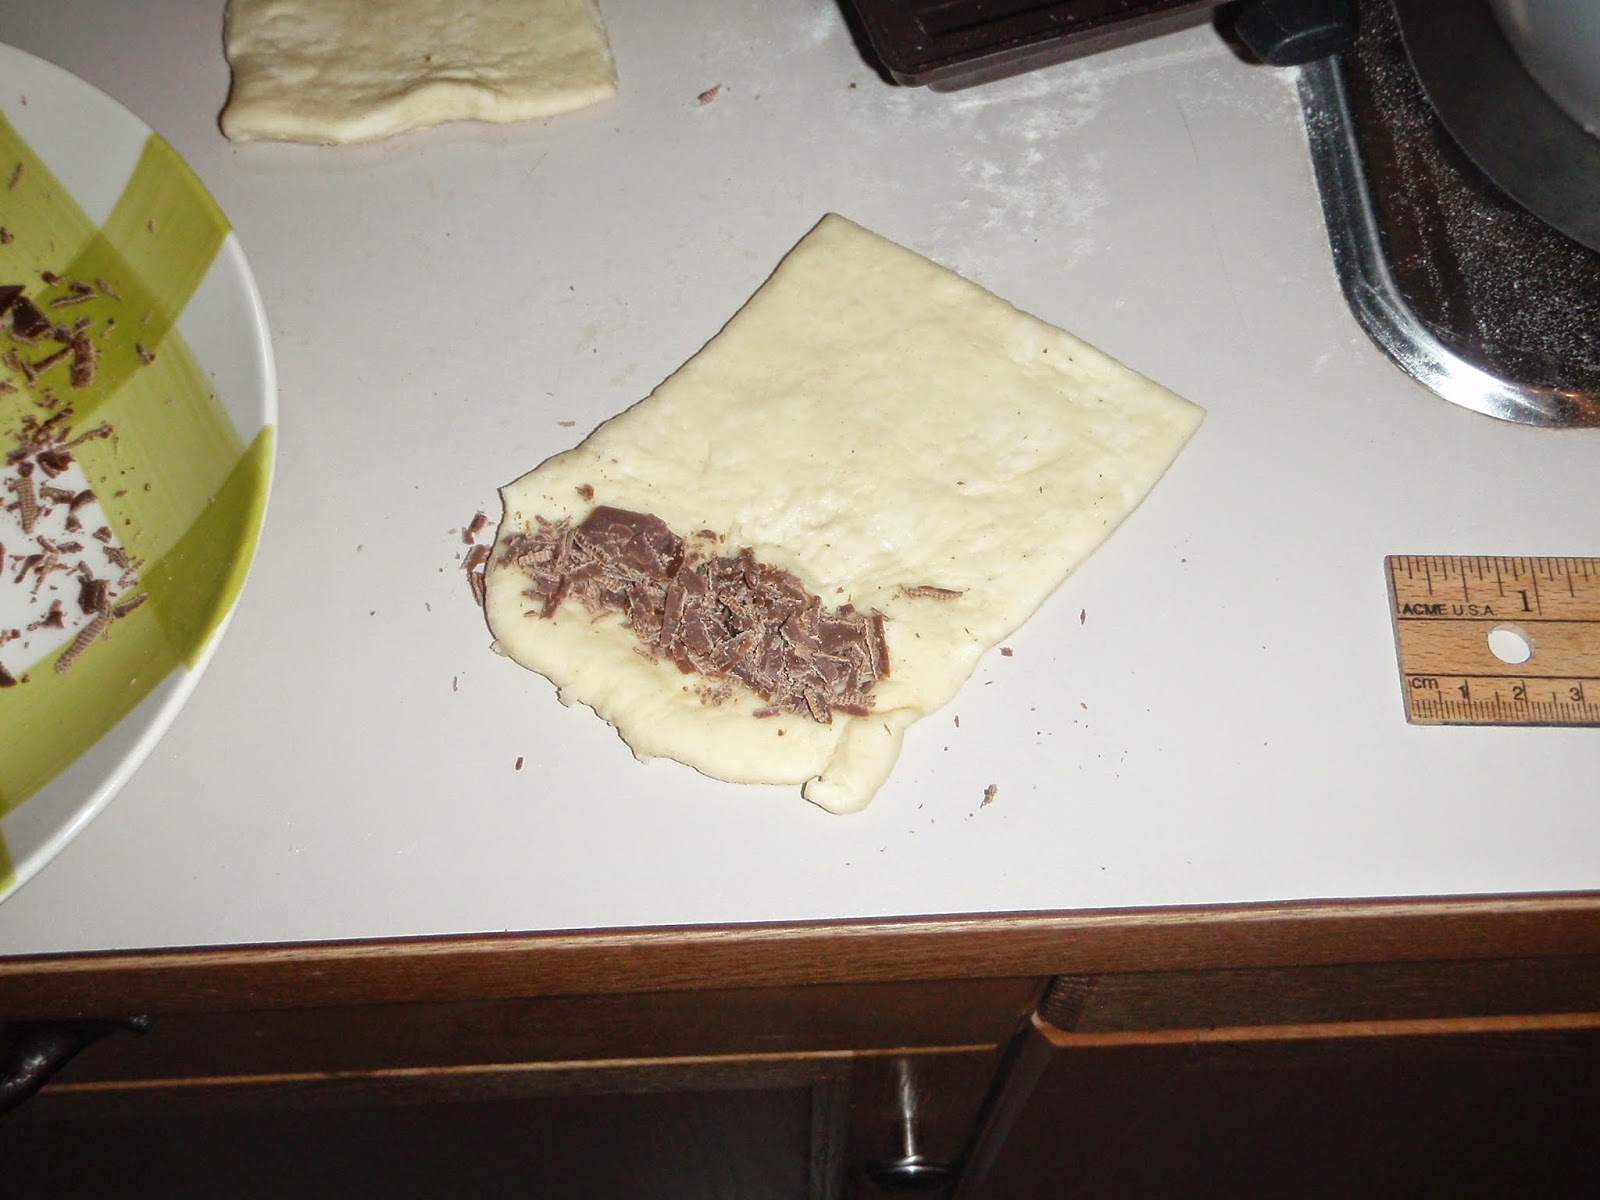
How about chocolate? Also using a square piece of dough.
The pastry doesn't store too well, but don't worry, they won't last long enough anyway!
~ Lisa
P.S. If you have a small kitchen, you'll have to plan around what else you may need to do. To have pans ready and to still be making rolls took up every flat spot in my kitchen.