The first rule of Soap Making Club is - You do not talk about Soap Making Club.
The second rule is - You do not talk about Soap Making Club.
Third rule is...
Just kidding, it's kind of like Fight Club but without the fighting.
Please tell me you've seen that movie and know what I am talking about! It's the only soap making movie out there!
Last summer I bought some handmade soap while we were on vacation and I really liked it. Months later it was all gone and unfortunately I wasn't able to just go get some more. I thought maybe I could try and make my own soap, I read a few books and a few blogs and I got started.
Since then I have made many batches in different colours and fragrances.
Have you ever wanted to make some soap? Here are the basics...
You will need safety gear, apron, gloves, goggles.
A scale, stick blender, thermometer, containers, spatula, and mold. For the mold, use an empty 2 L milk jug, a yogurt container, a Pringles can, or a silicone one. It doesn't matter. Line the recycled containers with parchment paper, or use a non-stick oil spray. You do not need to line the silicone molds.
Ingredients include oil, lye, and water. That's it!
You can use any oil and any mix of oils. I started with basic grocery store oils - canola, coconut, olive, vegetable shortening, lard. These oils are easy to find and not too expensive. The water is distilled, just to ensure it doesn't contain any impurities. The lye (sodium hydroxide) can be hard to find, check at home improvement stores or online.
The entire process takes about an hour. Find some time that you won't be disturbed - no kids, no pets. The process can be dangerous if not done carefully and certainly should not be done with children. Please read and follow all caution info on the lye crystals!
First step is to put on your safety gear. Wear this gear for the entire process!
Then, weigh out all ingredients. I put the oils together and keep the lye and water separate. I use a large measuring cup for the water, it doesn't come close to being full, but this way there is lots of safety room for the chemical reaction that will take place.
Take the lye and water outside if you can, if you can't put on the fan or open a window. The mixing of lye and water will start a chemical reaction that creates a lot of heat and nasty fumes.
Do not breathe in these fumes!
OK? Ready? Slowly and carefully add the lye crystals to the water. Do NOT add the water to the lye, it will likely splash or overflow and could burn you. Only ever add the crystals into the water.
Stir gently. It will be cloudy and frothy and VERY hot. Stir until all crystals are dissolved. Then let it cool down.
If you want to chill the solution a bit faster, place it in the sink in an ice water bath.
Mix the oils and the lye solution together when they are roughly the same temperature. You can wait until the lye solution reaches room temperature and then matches your oils, or you can heat the oil to match the lye solution. Try using the microwave in short 30 second intervals or put all the oils in a pot on the stove and gently heat.
I have done both ways, you have to wait a long time for the lye solution to cool enough, but be patient.
I prefer to heat the oils a bit, especially if I use oils that are solid at room temperature (like lard and coconut oil). Heat the oils to about 110-120 F and let the lye cool to about the same.
Once they are roughly the same temperature, you can slowly and carefully pour the lye solution into the oil.
The reaction will begin immediately, the clear oils will become cloudy and creamy looking.
Use a stick blender to mix the two together. You will have to mix and mix! It can take up to 25 min to reach "trace" for some recipes. Trace is achieved when the mixture leaves a "trace" when you pull the blender out. Like when you can see it is thick enough that it doesn't just mix right back in. It will kind of look like pudding or a thin custard.
Here is is starting to thicken up. Keep mixing!
See how the drips off the blender just disappear?
Here is is thick enough that the drips are still visible. This has reached "trace".
Now pour this mixture into a mold. You can wrap the mold in an old towel or blanket for added insulation. Now, just leave it for 24 hours. In this time the chemicals of the oils, water, and lye will react and create soap!
The next day, remove the soap from the mold and cut it into bars. Cut whatever size and shape you want.
This soap is now safe to use, but will only get better with time. Leave the bars of soap to dry out for 4 to 6 weeks or longer. The water will evaporate out and leave you with a solid, long lasting bar of handmade soap.
~Jess
Up next
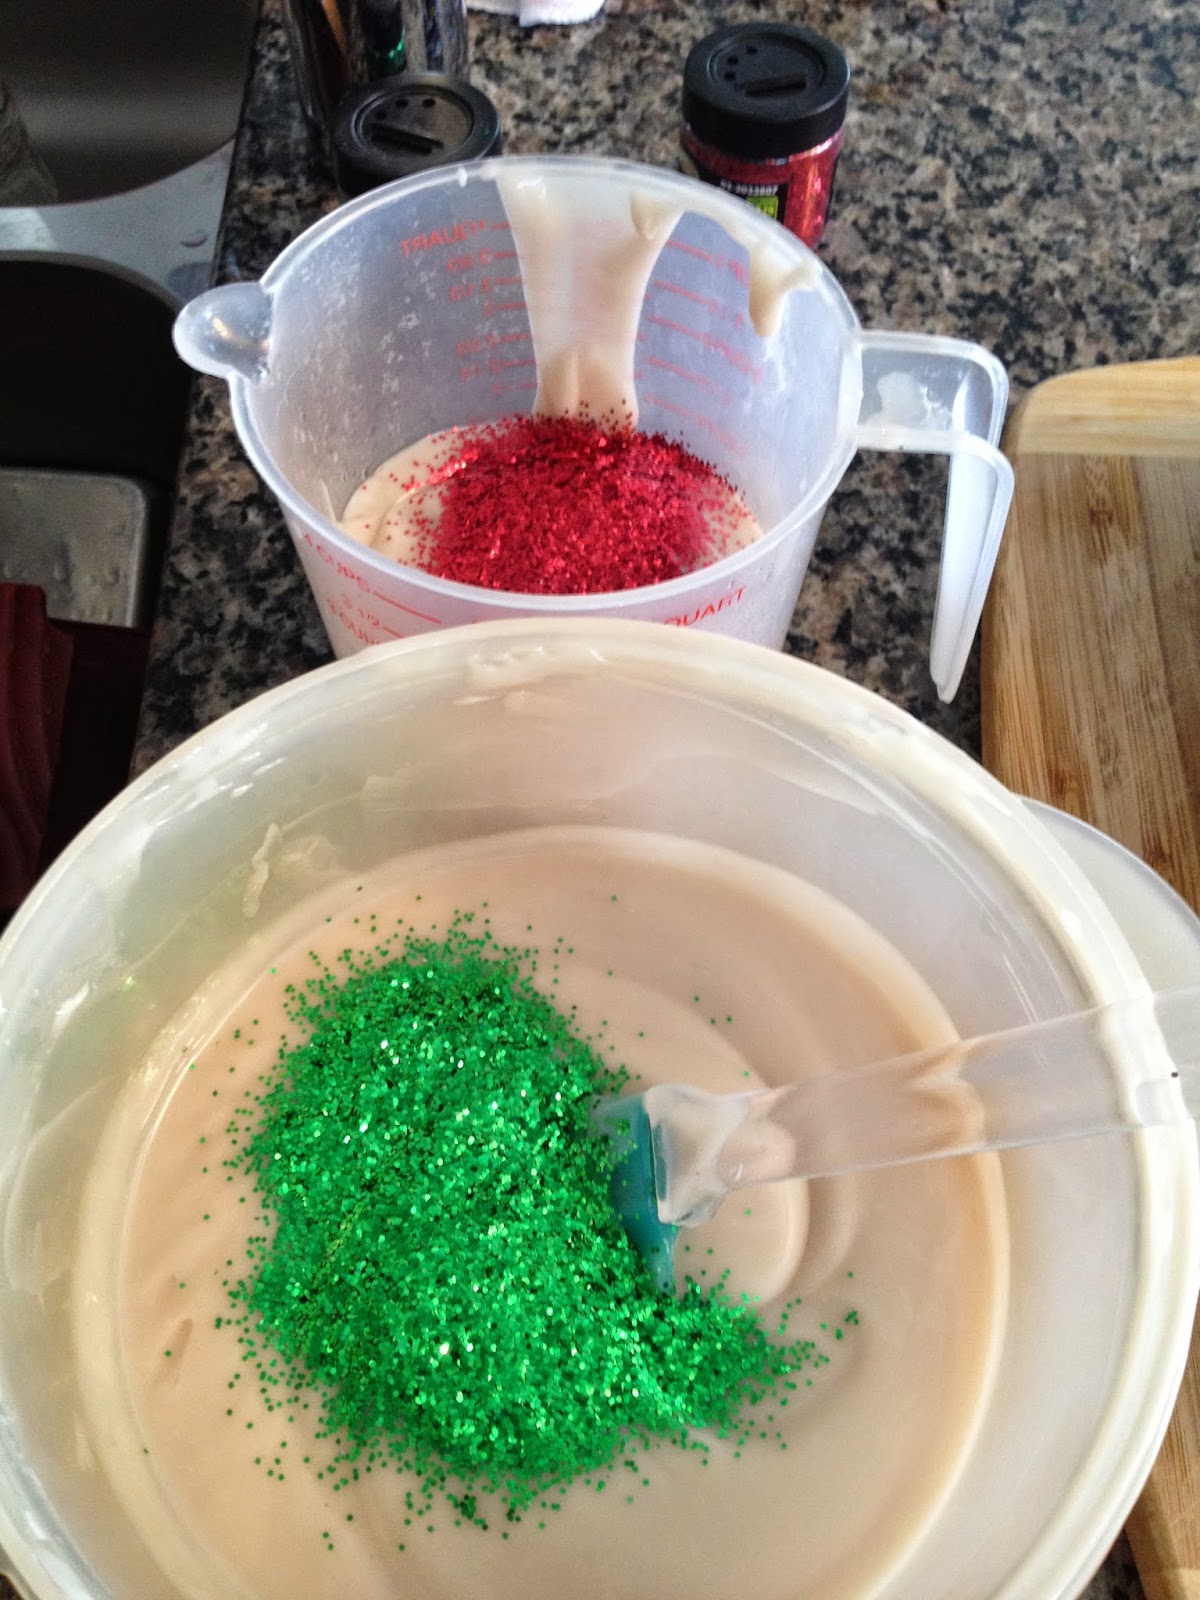
Adding Colour!