OK, it's WAY passed the time when I actually wrote up something. Good thing we're a team with this blog and Jess covered for me for the last few months! My only excuse/reason is that since I'm an online teacher I literally (and I mean the actual definition of "literal" here) spend every working day sitting at the computer, so I've been avoiding it over the summer.
This muffaletta sandwich was another item I saw Martha Stewart make on her "Cooking School" show and wanted to try. Luckily for me, we were having a potluck lunch at the end of the school year so my co-workers were a captive audience!
Here is the inspiration recipe, though if you compare you'll see I made my own modifications due to 1) not being able to get the special Italian meats and 2) not wanting to bother making my own olive salad.
Ingredients:
1 large sourdough loaf
75 grams Cervelat Salami
75 grams Hot Genoa Salami
75 grams Hot Capocollo
150 grams Hot Mortadella
150 grams provolone cheese
2 cups arugula
1 500-mL jar roasted red peppers (used half)
1 500-mL jar spicy olive bruschetta (used 3/4)
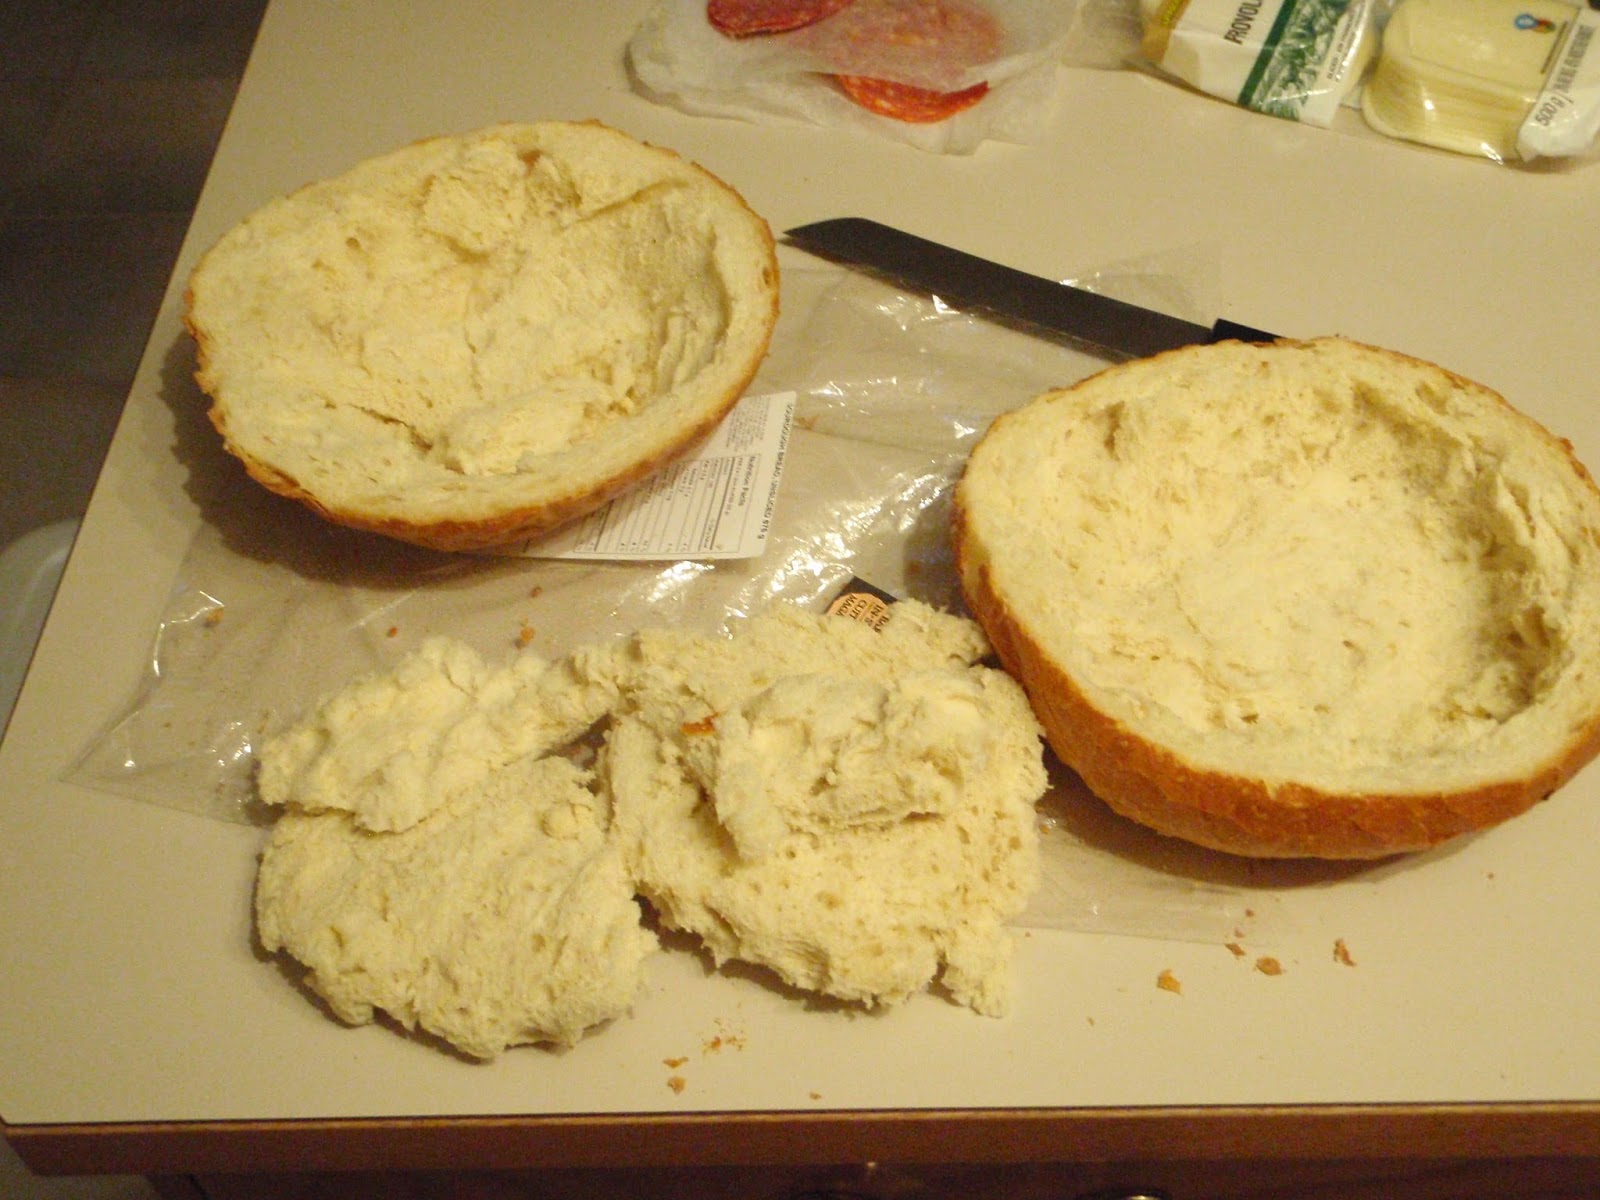
Hollow out the bread so you have space for everything else. I ended up using these insides with artichoke dip later, but it would also be good to dry out and make bread crumbs with.
First put down some of the olive mix (so it can soak into the bread) and then just layer the meats, cheese, arugula, peppers, and more of the olive mix.
Last thing on the top should be the olives again.
It's maybe a little difficult to see in my pictures, but you get quite a mound of "stuff" above the bottom half of the bread.
Put the top on, wrap in plastic, and squish with a heavy pot overnight in the fridge.
The next day it's nice and flat and is easily transported in it's plastic wrap.
Cut into wedges to serve.
Since this was part of potluck lunch, it was a bit difficult to cut into small wedges (I think I tried cutting it into 12) as the layers did start to slide apart a bit, but if it's your main dish, you can quite easily cut into 8 wedges to serve.
My overall comments would be that these particular meats and the spicy olive mix made this quite SPICY! Lots of ladies fanning their faces. So judge your audience :-) Easy enough to buy the mild versions of the meats and/or not use spicy olives. I also found that this particular olive mix maybe had a bit too much oil in it, so I would probably drain some out next time. It just ended up soaking the bread too much for me.
But I think the people at work liked it! (Does this count as a photo bomb?)
~Lisa