Showing posts with label Home. Show all posts

Sunday, 16 August 2015

Blanket Ladder


A blanket ladder is great way to display all your quilts and keep them within easy reach for a chilly evening or a movie night. 
This is super easy to build and adds warmth and rustic charm to your guest bedroom or your bonus room. 
First thing first...a safety selfie!
Find two long pieces of wood, these will do perfectly!
Cut some rungs for your ladder. I used a piece of 1x2 and cut 6 rungs each at 14 inches long.
Measure out where the rungs will be. Space them evenly along the length of your ladder.              
Mark lines across the side pieces where the rungs will attach. We are going to notch out this section so the rungs will be set into the side pieces. 
Now, set the blade on the table saw nice and low so that you only go through half the width of the wood. Cut a few paths between your pencil lines. This will create the inset notches for the rungs to fit into. 
Using a hammer, lightly tap the chisel to bust out the remaining bits in the notch. It's good to have an assistant to help hold the wood steady, or use a vice or clamps to keep it secure. 
Those are the hands of our Crafty Dad, he deserves a shout all for all his help and support of us as Two Crafty Girls!
Now that you have cleared out your notches with the chisel, you can do a final touch-up with the table saw. Hold the two side pieces together and carefully move them through the blade and side to side across the blade to make your notches all smooth. 
Now fit the rungs into the notches.
 Secure with wood glue, and screws. 
I gave it a quick sand and a light coat of stain before bringing it into the house and filling it up with my handmade quilts. 
How nice is that?!? I love it!

Thursday, 11 June 2015

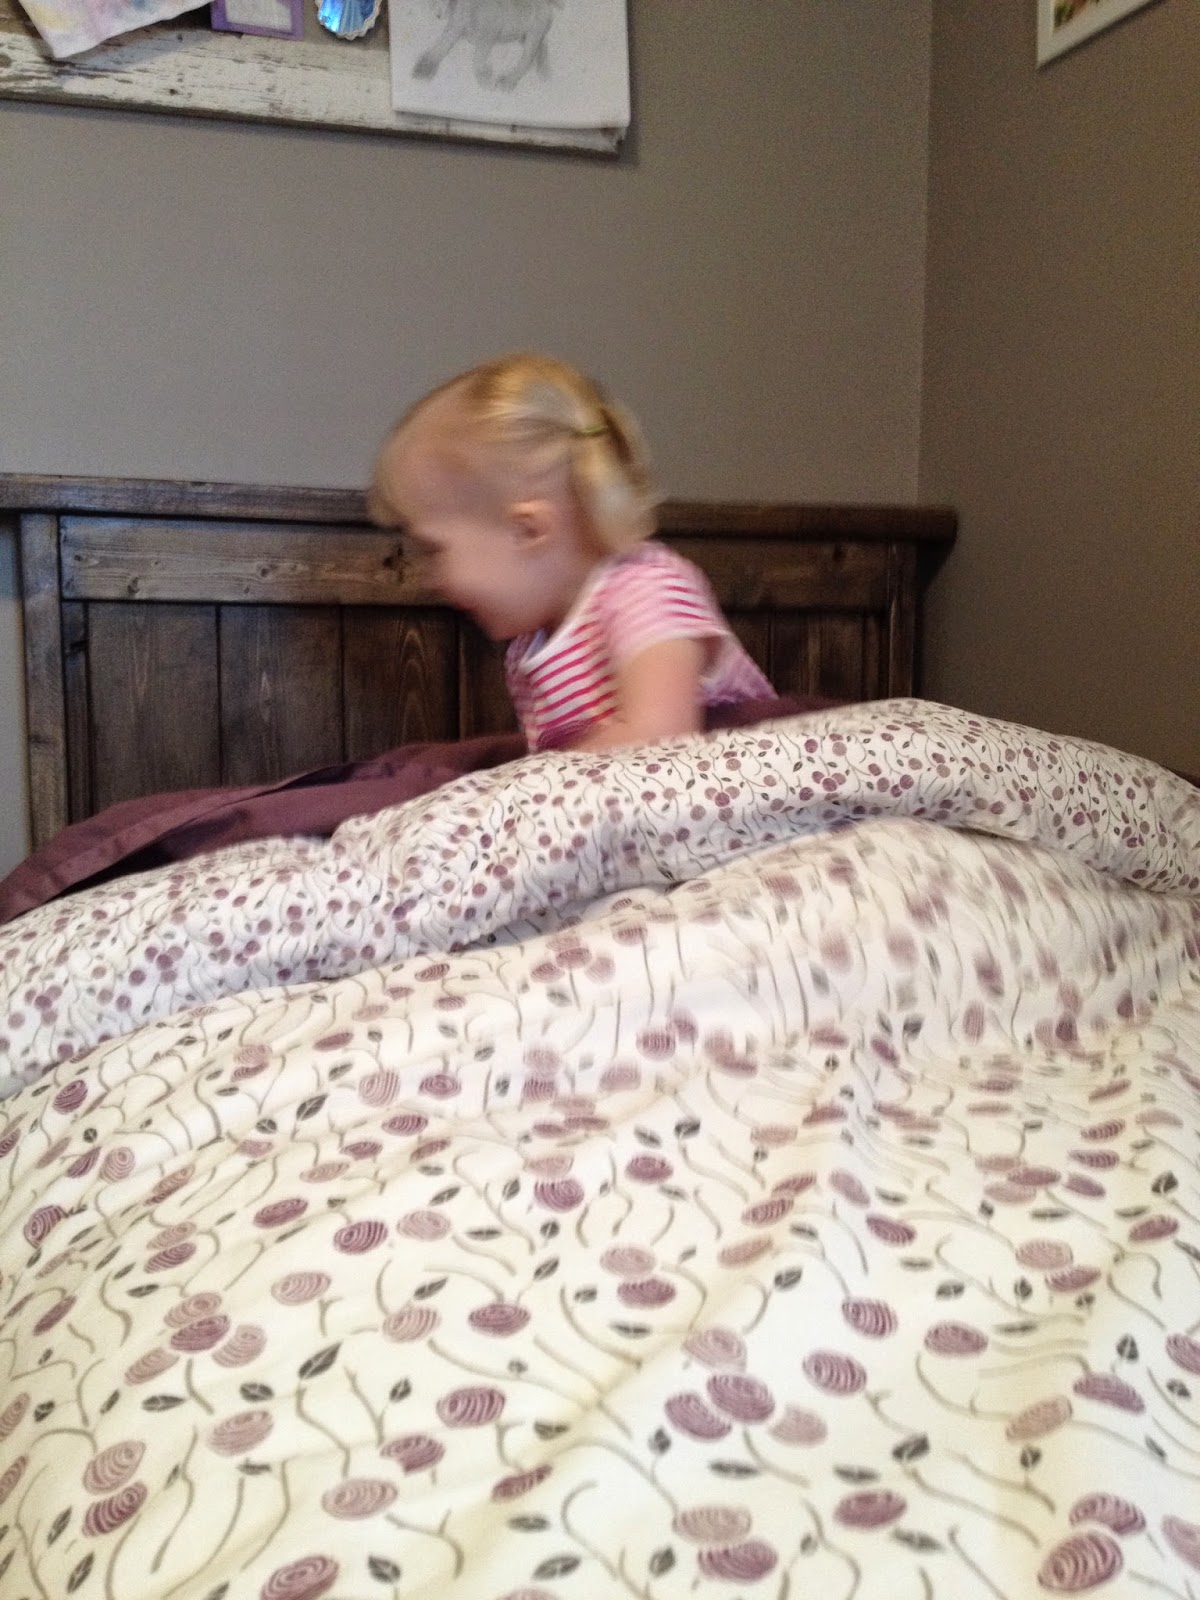
Farmhouse Style Twin Bed, or as we call it "Big Girl Bed"

A 3 year old girl needs a Big Girl Bed! At least that's what we figured. 
Not just a toddler bed, which was her crib modified so that it had 3 sides instead of the 4.
I love the look of a rustic farm house style bed, so that's what we made for her.
Safety first! Here we get geared up to begin building...
We looked at Ana White's plans for a twin farmhouse bed this picture is straight from that link:
I usually love her stuff, and I do love this bed in a queen or king size, but in this twin size I didn't like how chunky the frame looks. I think the legs are too thick and the topper on the headboard and foot board is too big. I thought these plans needed a few modifications to be perfect for our little (now BIG) girl. You'll see...

First make all the cuts, pretty much just follow her plans, but for the legs use 2x4 not the thicker 4x4 and omit the 2x6 top of head and foot boards. 
Oh, and having a great assistant / husband makes things so much easier! 
So then build as she says. We just followed the steps on Ana's website.
 It comes together really quickly and is actually pretty easy to do. 
Then choose how you want to finish it. Stain, paint, chalk paint, or whatever. 
This is the stain I chose, bought it at Lowes. 
Two light coats of this stain gave me the aged rustic look I wanted. 
Then bring it inside a surprise the Birthday Girl with it!

Happy Third Birthday Miss R!
~Jess

Wednesday, 27 May 2015

Custom Magnets

Want magnets to match your home or kitchen decor? 
Trust me, they look way better than those free ones you have from your realtor or local pizza delivery or whatever. Make these super easy ones for yourself or a friend. A simple custom handmade gift. 
I wish took more pictures, sorry, but this is so easy you won't need a lot of instruction from me. 

Get some of those glass blobs from Micheal's or the dollar store. They are round on top and flat on the bottom, you usually see them in a bag or net for a couple bucks. I think they are actually called glass beads for vase filler. They come in lots of colours and are used in floral arrangements and stuff. "Stuff" being these custom magnets!
Then get some basic magnets, small discs work best. These are also found at Micheal's or a dollar store. 
Finally, gather up a magazine of interest or some of your favorite scrapbooking papers. 

Here I have a recent PotteryBarn catalogue, flipping through it I saw this picture and really like the colour combos:
Here's another picture I like, cute colours, eh?
So simple stuff here...
Cut out a circle of the paper you like, then use modge podge or glue to attach it to the flat side of the glass blob.
When the paper and glue is completely dry, go ahead a glue the magnet on. 
I told you, simple simple! And super cute for your home!
A few of them together is a nice little collection for your fridge, or for your friend!
~Jess

Monday, 4 May 2015

Design Inspiration

Lately, I've been considering updating the painting in my house. I've lived here for over 11 years now, so it's just time for some changes, and paint is definitely going to be cheaper than finishing the basement (though that's on the "To Do" list for sure).
Jess had mentioned once that she looked for colour palettes on Pinterest for card making, so I had a look. Some had links to looking for inspiration from other fabrics or things you have, so I'll probably head in that direction. I already used my kitchen chairs (some of the seat pictured above) as inspiration for some accent paint around my pantry door, so I'll now probably use some of the neutrals in it to have some continuity throughout the house.
*Note: The two paint sample strips on the chair were to figure out the best colour to use and my design friends said I could actually use any of those colours. I went with the top left for the wall as I thought it was a little more vibrant than the bottom row.

Aaaanywho, I ended up pinning quite a few colour palettes as I figured I'd need them at some point anyway in my crafting. And I discovered that I had quite a few from Design Seeds (http://design-seeds.com/), so I explored that site more and thought I'd share.

http://design-seeds.com/home/entry/petaled-hues5
What I liked about that site is that it gives you an image and pulls colours from it. Then if you like a particular one, you can click on it on the right side under "see similar colours" and it will take you to other colour palettes that use similar colours. For example, I clicked on the top-right greenish colour and got to eight different palettes that might work, depending on what overall feeling your going for. http://design-seeds.com/search?hex=cfccb0

So this is all well and good, great for card making, maybe some clothing design, inspiration for choosing colour options, but this doesn't really help you buy the paint for the walls.

But wait! I found another website that will help with that. EasyRBG http://www.easyrgb.com/?X=SEEK

This will take computer colours and turn them into the paint colour names from different companies. You'll need either the RGB values or the hex code of the colour. The beauty of the Design Seeds site is that if you hover your mouse over the colour, the hex code will pop up. It's also the end code of the webpage you follow if you click to see the similar colours. So for the greenish colour noted above you can see the end string is "cfccb0".

I know my local paint store sells Benjamin Moore paint, so I entered "cfccb0" in the colour code, chose the "Benjamin Moore Color Preview" as my color collection, and voilĂ ! It gives me the names of four optional matches that Benjamin Moore produces. The centre block is the colour I entered and the four smaller ones around it are the options. In this case, it came up with Guillford Green, Soft Fern, Abingdon Putty, and Carrington Beige.
So now just head to the store, grab those colour samples and decide where your project is headed.

Translating computer screen colour to real life may take a little trial and error, but here's some help to getting the ideas from your head onto the walls!

~Lisa


Friday, 6 March 2015

Open Kitchen Shelves

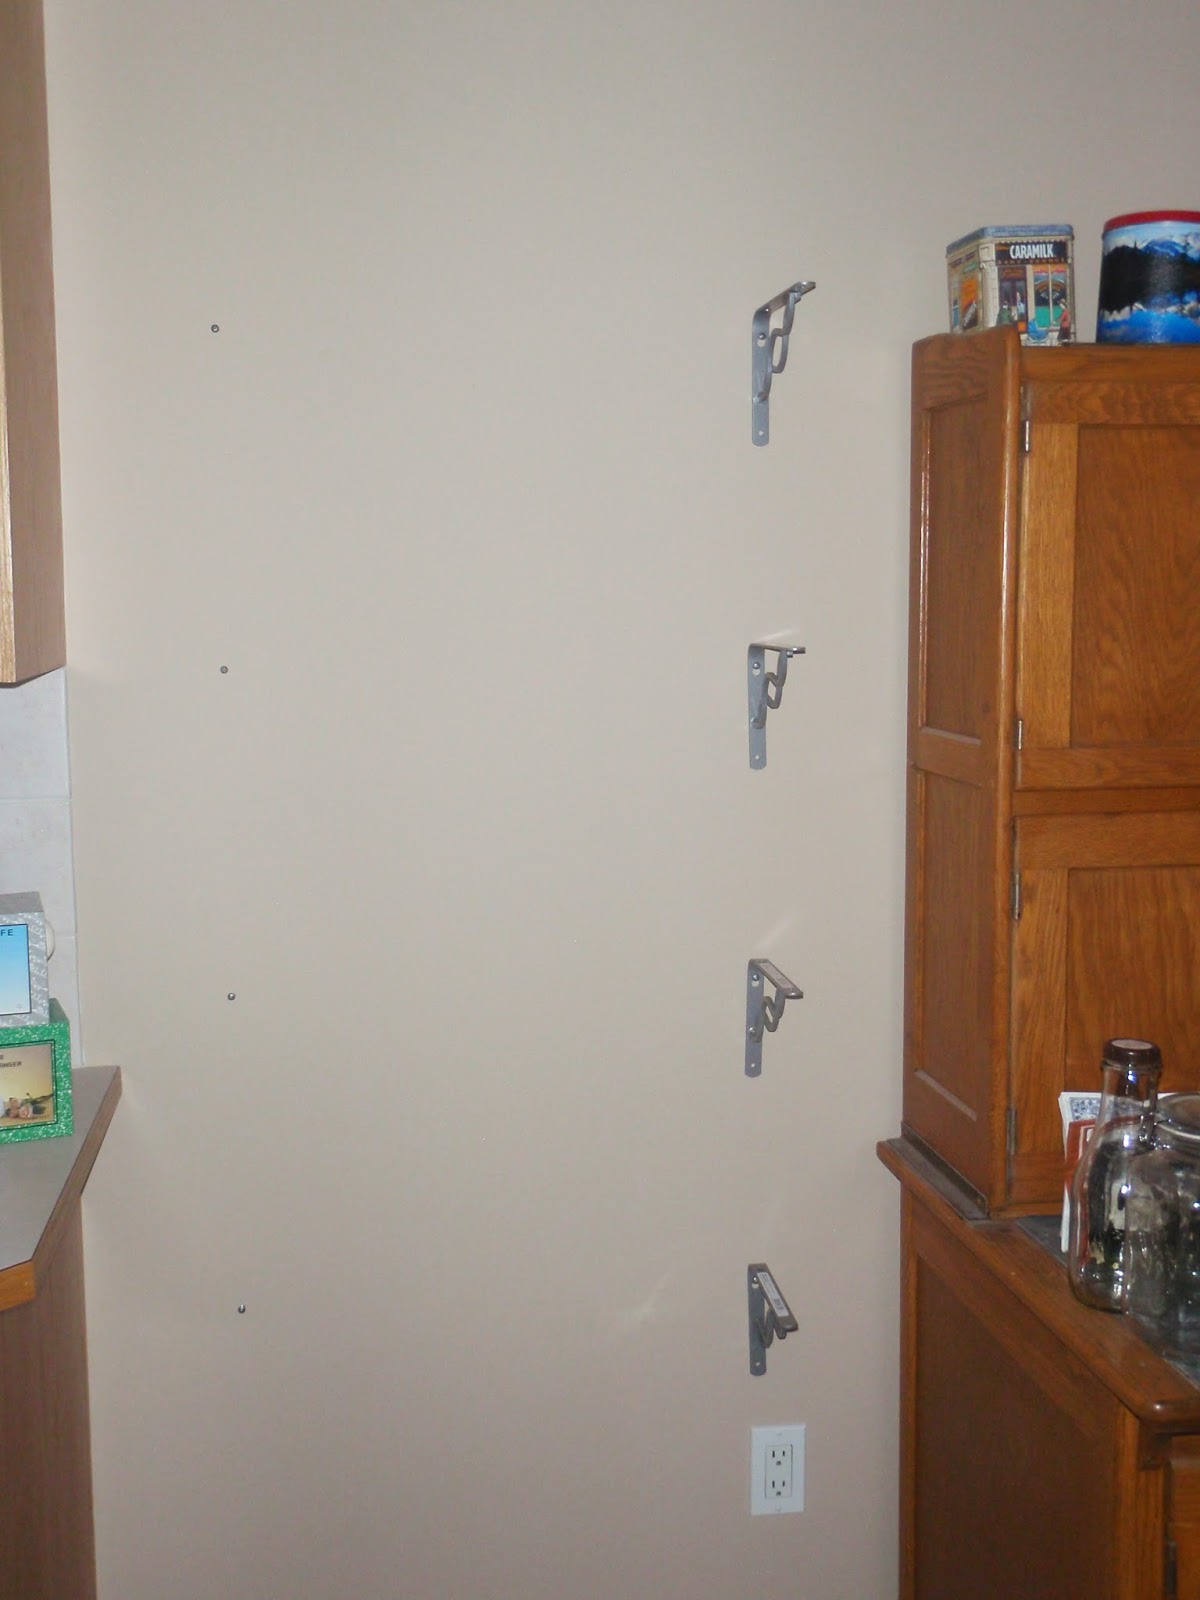
Back before Christmas, I was hanging out with my sister and was snooping on her Pinterest page. Which I recommend you do sometime, just have a look at someone else's page because it's interesting to see what they follow and what might catch your eye. Anywho, I saw some open kitchen shelves and thought they looked really good and figured they'd be a nice way to display all the glass jars I have, but didn't know where I would put them because my house really isn't that big. So imagine my surprise when I took down the 2014 calendar in January and discovered a section of open wall in my kitchen that would be the perfect spot! :)
I originally thought I'd try to use some more leftover barn wood, but Dad said there probably wasn't the right size (a shelf is actually quite wide) and would likely be warped, so not good for shelving, and buying pine panels would probably be a better idea.
The total cost for the four shelves was about $110.
- two solid pine panels from Home Hardware, 12"x 60", $25 each
- eight brackets from Lowe's, $6 each
- new stain, about $8 from Lowe's
- small brush and plastic tablecloth, $1 each from Dollarama (so I could just throw them out instead of having to clean)
Home Hardware had a larger selection of the solid pine panels and Lowe's had much better choices for the brackets and that's the reason for choosing each store. And it took me a bit to find the stain. I was looking for "Early American" to match my kitchen table but all I could find was "American Colonial", which is actually just the French side facing out, but caused me to spend several minutes looking at every stain colour trying to find what I wanted.

There is quite a variety of sizes of panels, but the shelf ones are either 8" or 12". A foot wide seemed to big, but 8" not wide enough, and I had to laugh at myself when Dad suggested I could just trim them down because it never actually crossed my mind to do that. I was planning to cut the long boards in half to get the width I need, but just never thought about trimming the depth. And considering how much time I spent with the table saw when I built the table you'd think I'd be familiar with the all the options. I ended up trimming them to 10.5" so they were deep enough to hold some cookbooks without the edge of the book hanging off.
I just cut the boards quickly one day when I was out at my parents and I forgot to take pictures of that process, but I'm sure you can imagine what it looked like. The only thing to mention with these pine panels is to consider where the knots are in the wood and what you're doing with them. You might be alright with having some notches in the wood if a piece of a knot falls out, but I wanted a smooth edge for the shelves. So on one panel I trimmed 1.5" off one side, and one the other panel I cut 0.75" off each side to avoid the knots. Then I cut each panel in half to end up with four shelves that are each 10.5" x 30".
I gave them a quick sanding on all the edges to get rid of any slivers and smooth out the cut marks from the table saw.
Then I took them into the basement to stain the boards. I just covered my old kitchen table with a plastic table cloth from the dollar store to protect it. I also put down the newspaper to absorb any stain that might get dropped instead of having it sit on the plastic and probably get on my clothes.

I did two coats of stain and it's probably good that I had purchased more because it actually took most of that small can. I did the first coat after work one day and let them dry for 6 hours and did the second coat right before going to bed.
Top: First coat of stain, Bottom: Plain board
Left side: One coat of stain, Right side: Two coats of stain
Then I left them to dry for a few days in the basement. Not that they needed to be left that long necessarily, just that it took me that long to get around to actually putting them up.
I first started by marking with masking tape where I thought I wanted the shelves. It's kind of hard to see the tape on the wall in the picture, but the biggest thing I wanted to make sure was that the shelves wouldn't be in the same spot as either the top or bottom of the cabinets.
I used a stud finder, a tape measure, a level, and a piece of 2x4 mark the spots where I would drill the holes for the screws. The cordless drill I bought a couple months ago sure came in handy here. This would have killed my arm to do this manually!
Here's one side of the brackets put up. The bottom one is 24" from the floor and they are spaced 14.5" apart. Kind of a funny number I know, but they needed to be far apart enough to hold the big jars, but I couldn't have the top shelf end up so high that I couldn't reach it. That's a serious consideration for us shorter persons.
At this point I haven't installed the bottom left bracket because I was still using it to mark the spots to put in the screws on the shelves.
Here's the test to see if I've actually got the shelf level as planned.
Success!
All four shelves up and now time to decorate.
I played with moving things around on the shelves and had to put some things on the floor as it just looked too empty underneath. Maybe it's the spot to build some bins for potatoes and onions or something.

But now it's a lot of different woods in my kitchen area, so maybe the next thing to tackle is painting the cabinets. That'll be a big project but I'm not painting the table or my great-grandmother's antique baking hutch!
~Lisa