Showing posts with label Kids. Show all posts

Monday, 14 September 2015

Quiet Book for S.

The making of this activity book started with a string of texts...

Lisa: Do you want to make another activity book? My friend T is looking for one for her son S that would be a little older and have things like doing up zippers and tying shoes. 

Jess: Ya, no! I don't think I want to make another one. But tell her there are tonnes of ideas on Pinterest and I did blog about R's. (Side note: First activity book link here)

Lisa: She saw the blog which is why she asked.

Jess: Kids do love them, R plays with hers all the time! But it's so annoying to make, it takes forever,  and can get expensive if you have to buy all the fabric and bits and bobs. 

Jess: How about I will see what I have downstairs already and maybe do a few pages for her and then she can flush out the rest?

Jess: I realize that I just went from no to yes...

Please notice that I didn't participate in the last part of that conversation. I'll let Jess take the story from here :) 
~Lisa

OK, so sometimes I can be a bit soft... or maybe I was just hankering for a project to do. The first quiet activity book I made was for a 2 year old and this one is for a 4 year old.

Like I said in the texts, I just kind of scrounged up some stuff from my craft supplies. I did buy a few sheets of bright coloured felt but the rest of this stuff I had on hand. Make do with what you have!

The first page here is a "racetrack". There are little "cars" inside each one, and he can "drive" the "cars" around the road maze "racetrack".
I sewed the fabric on the page using a straight stich and created paths into it, making a little maze. Then I put two beads in each maze and zig-zagged the edges down.  
Using felt I cut out the black shoe bottoms and the orange shoe tops. Then cut little holes in the orange shoe tops for the laces. I sewed this down with a straight stich and then threaded the string laces in the shoes. Practice tying shoes, fisherman knots, or whatever.
The flower pot page is started with green stems, sewn down with a narrow zig-zag. Then the pot is sewn on 3 sides, making a little pocket for all the flowers. The flowers are cut from colourful fabric scraps that I ironed interfacing to, this adds structure to the blooms and makes sure the edges don't fray. I made about 12 flowers and tucked them into the flower pot pocket. I sewed a button or two on each stem to attach the flowers.
The letters are cut out of blue felt. I put a small piece of Velcro on the back of each letter and on each space. Spell your name or practice other words. I cut out spare letters too, and put them all in the little zipper pouch. I even including the letters for his sisters' name, I cut those out in red.
This page is about counting and basic math. Just string some beads on yarn and then sew the ends of the yarn down to the page. Count 1 to 10 on the beads or add and subtract the numbers.
Tic-Tac-Toe! I created the playing grid by sewing thin pieces of felt to the page. I cut out squares of felt for the playing pieces and sewed an "x" on the blue ones and an "o" on the orange ones. I made 5 game pieces for each player.
Here is matching. The playing pieces are, again, cut out of felt. I sewed the shapes on the page with a simple straight stich. I attached Velcro to the back of each shape and to the space on the board.
This clock is a fun mix of digital numbers on an analog face. Cut small blocks of felt to make each number. Attach them to the clock face circle. The hands are also cut out of felt. The hands have to be free to rotate, so I cut a slit in the clock face and in the hands, then threaded some string up through all layers and slipped on an anchoring bead and then threaded it back down through all the slits. The string is attached to the back of the clock face securing the hands to the face but allowing them to rotate freely.
The book cover is made of denim and each page is sewn down along the spine of the book.
It is a time consuming project but it makes a great gift and offers hours of quiet activity to a kid. Enjoy it S!
~Jess


Thursday, 23 July 2015

Chenille Quilt

Each new baby needs their own special quilt.
I had the opportunity to make a quilt for my dear friends' baby girl.
This is quilt is very special because of the back...a chenille quilt! 
To begin, make the top anyway you like, there are so many options. I found a mix of purples and yellows perfect for a baby girl. The top is 4 patch and fences, but do whatever you want.
Then pick some coordinating fabric for the chenille back, I picked 4 different flannels, all with similar colours.  Making a chenille quilt can be a good option if you have lots of fabric and no batting. This kind of quilt gets its warmth and fluff from the many layers of fabric, not from batting. Now layer the quilt top, right side up, and then 4 layers of backing fabric, all right side down. You kind of make a quilt layer cake. When all your layers are stacked and secured with pins you can start to sew.
 The important thing with this quilt is to sew on the diagonal/bias, it is a must! We are going to make a whole lot of cuts and if you sew diagonal lines it will become soft and fluffy, but if you sew straight lines (parallel or perpendicular to the selvage) it will become a mess of fraying threads. Sew a diagonal line through all the layers about every half inch or so.
This takes a lot of time and patience, oh, and a lot of thread. Before you get going, wind up a few bobbins, it will make your life a bit easier to have them already prepared. Then just sew, sew, sew!
Once all the lines are done, stop and admire your work. Nicely done!
Now grab your sharp scissors and flip the quilt over, we are going to start making this quilt into a chenille quilt.
Cut through the troughs. It will feel weird to cut up a project you have been working on for hours, but trust me, and try to ignore your sweaty palms. I cut through 3 of my 4 layers of backing. This leaves the quilt top and one complete layer of flannel intact, and provides 3 layers of softness.
See here on the backing...3 cut layers and one intact layer.
Keep it up, you have to cut through each trough, and your hand will ache and your mind will be numb, but it will be worth it!
Gorgeous! So cuddly for baby.
Now attach your binding.
Once it is all done, put the quilt in the wash. Yep, a quick wash or a simple rinse and spin. Then put it in the dryer. This will help to fray the cut edges just a bit and it will make it super soft. A chenille blanket is perfect for a baby, the more you wash and dry it the softer it gets. So no need to worry about spit up or spills, it just washes off and makes an even nicer quilt in the end.
Here it is, put to good use, in baby J's nursery!


Thursday, 11 June 2015

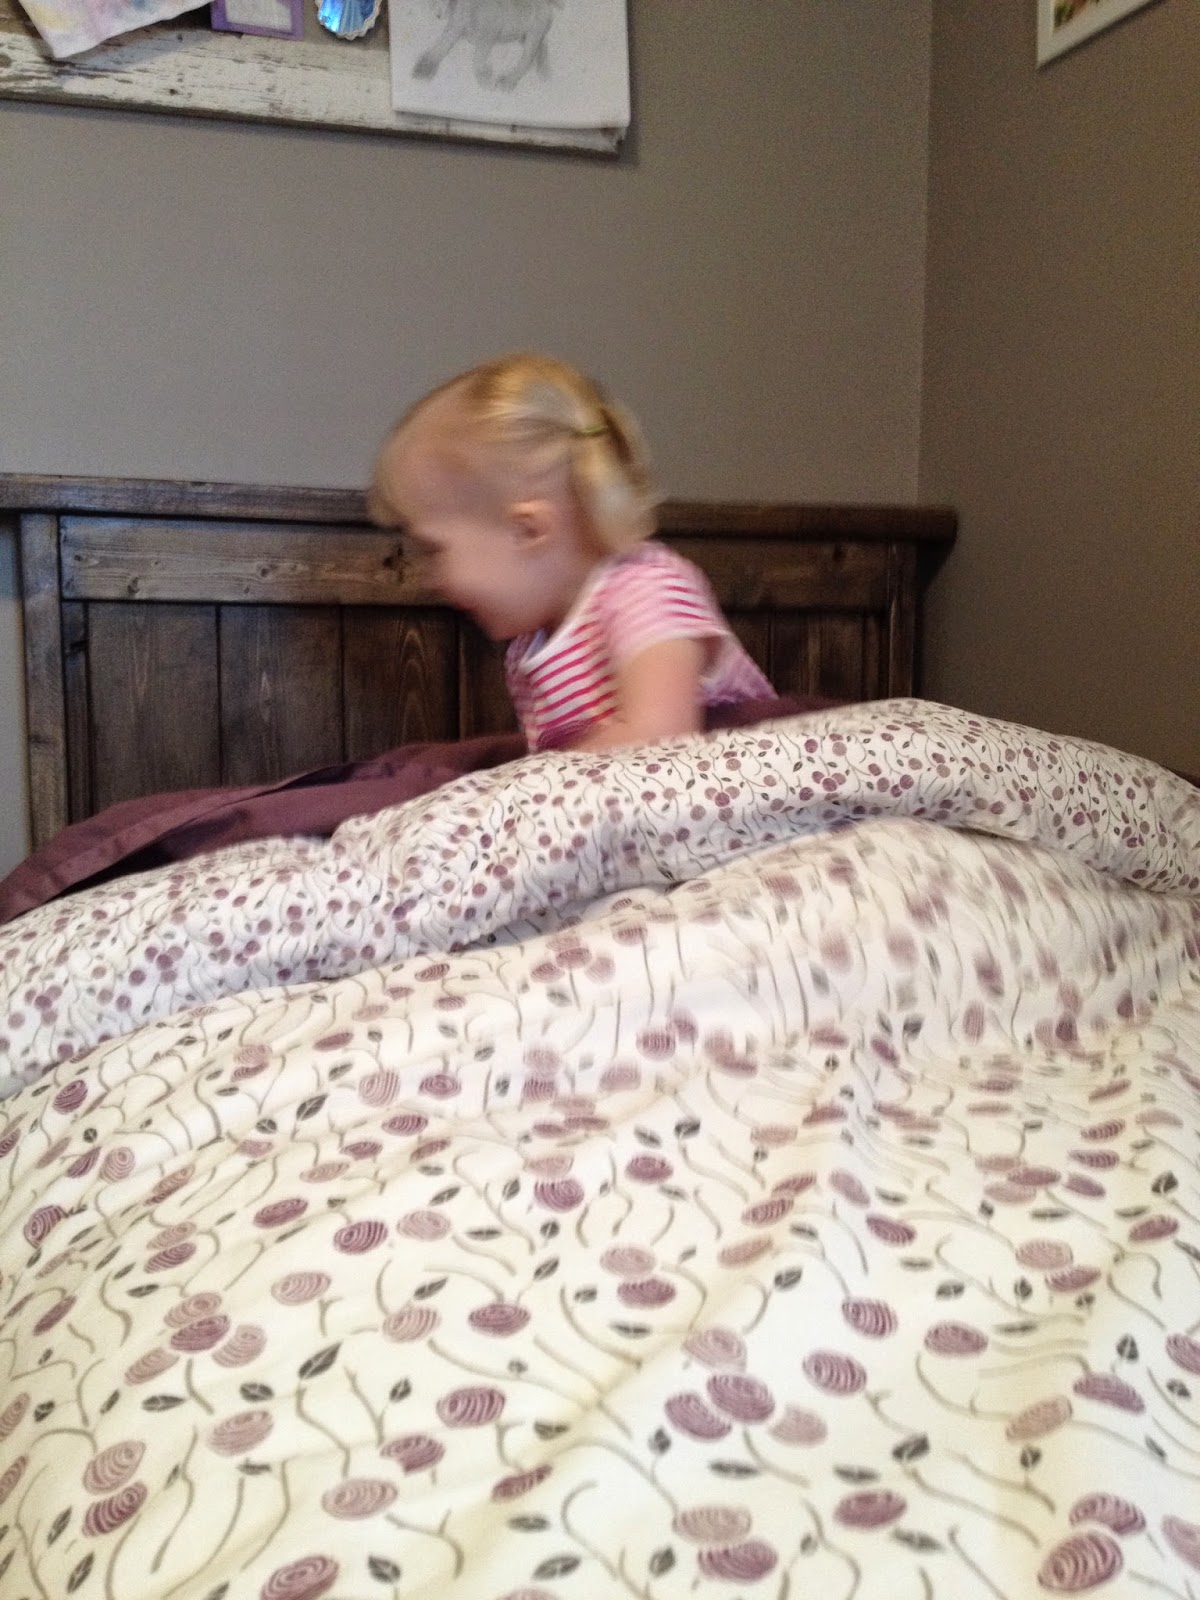
Farmhouse Style Twin Bed, or as we call it "Big Girl Bed"

A 3 year old girl needs a Big Girl Bed! At least that's what we figured. 
Not just a toddler bed, which was her crib modified so that it had 3 sides instead of the 4.
I love the look of a rustic farm house style bed, so that's what we made for her.
Safety first! Here we get geared up to begin building...
We looked at Ana White's plans for a twin farmhouse bed this picture is straight from that link:
I usually love her stuff, and I do love this bed in a queen or king size, but in this twin size I didn't like how chunky the frame looks. I think the legs are too thick and the topper on the headboard and foot board is too big. I thought these plans needed a few modifications to be perfect for our little (now BIG) girl. You'll see...

First make all the cuts, pretty much just follow her plans, but for the legs use 2x4 not the thicker 4x4 and omit the 2x6 top of head and foot boards. 
Oh, and having a great assistant / husband makes things so much easier! 
So then build as she says. We just followed the steps on Ana's website.
 It comes together really quickly and is actually pretty easy to do. 
Then choose how you want to finish it. Stain, paint, chalk paint, or whatever. 
This is the stain I chose, bought it at Lowes. 
Two light coats of this stain gave me the aged rustic look I wanted. 
Then bring it inside a surprise the Birthday Girl with it!

Happy Third Birthday Miss R!
~Jess

Monday, 18 May 2015

Granola Bars

This recipe for granola bars is a favorite of our family. It makes about 30 bars, that keep well on the counter or in the fridge for at least a week, and you can freeze them for months.

Made from basic ingredients that you probably already have in your pantry, they are a bit sweet, a bit salty, and all yummy. Easy for a quick breakfast on the go, to pack in lunches, or for an afternoon snack. Try these out and you will not buy granola bars again!
This recipe is VERY flexible, it calls for 3 cups of oats, and 3 cups of other stuff. That other stuff could be anything you like! Peanuts, almonds, cashews, walnuts, coconuts, raisins, dried cranberries, dried apricots, pumpkin seeds, sunflower seeds, flax, bran, chocolate chips, whatever! 
My go to mix is 2 cups trail mix and 1 cup shredded coconut.
Just a note - if you use chocolate chips, they tend to melt when you pour the hot syrup on so you get a chocolate peanut butter swirl thing going on, yummy but the chips melt in together. If you want them to stay as whole chips add them at the end, once you have spread the mixture in the pan just sprinkle them on top and gently push them down.
Then you make a syrup, but it is pretty flexible too. It's just made of nut butter, sugar, butter, milk, and a bit of vanilla. I usually use peanut butter, but you could use almond butter, cashew butter, or even nut-free peanut butter substitute. I have made it with white sugar, brown sugar, and agave, but any sugar substitute would probably work. And any milk too, dairy or dairy-free. Butter or margarine, or probably even a coconut oil or other fat.
In a medium saucepan, mix the syrup ingredients together and slowly heat to a boil.
It is important to go slow with the heat or you might scorch the milk and burn the sugar...like say if your toddler has to use the bathroom and you get pulled away from the stove to go help her, well,  you may come back and find some dark spots in the syrup, that's the burnt bits, but whatever, whisk them in and if they are small you won't even tell in the end...
Just keep whisking!
Boil this for about 5-7 minutes. The longer you boil it, the firmer your bars will be in the end. If you want them to stay soft and chewy, boil 5 minutes. If you want them firm and drier, boil 7 minutes. Take some time to properly lick all the spoons...
Remove the syrup from the heat and add in the vanilla. Whisk this is, it may froth up a bit as the alcohol burns off, don't be alarmed!
Then carefully pour this molten syrup over the dry ingredients, remember this is boiling hot syrup so be careful! Mix it all together, and put it into a pan. I use a 9 x 13 jelly roll pan, it is just a cookie sheet with sides, but use whatever you have.
Smooth it all out and pack it down.
Once it is cool, cut into bars and enjoy!

Granola Bars

3 cups oats
3 cups other stuff (nuts, seeds, dried fruit)

1/2 cup butter
1 cup peanut butter
1 cup sugar
1/2 cup milk
1 tsp vanilla

Mix dry ingredients in a bowl.
In a saucepan heat syrup ingredients. Boil for 5-7 minutes.
Remove from heat, add in vanilla.
Pour syrup over dry ingredients. Mix well.
Smooth into pan and let cool.
Cut into bars and enjoy!

~Jess