The total cost for the four shelves was about $110.
- two solid pine panels from Home Hardware, 12"x 60", $25 each
- eight brackets from Lowe's, $6 each
- new stain, about $8 from Lowe's
- small brush and plastic tablecloth, $1 each from Dollarama (so I could just throw them out instead of having to clean)
Home Hardware had a larger selection of the solid pine panels and Lowe's had much better choices for the brackets and that's the reason for choosing each store. And it took me a bit to find the stain. I was looking for "Early American" to match my kitchen table but all I could find was "American Colonial", which is actually just the French side facing out, but caused me to spend several minutes looking at every stain colour trying to find what I wanted.
There is quite a variety of sizes of panels, but the shelf ones are either 8" or 12". A foot wide seemed to big, but 8" not wide enough, and I had to laugh at myself when Dad suggested I could just trim them down because it never actually crossed my mind to do that. I was planning to cut the long boards in half to get the width I need, but just never thought about trimming the depth. And considering how much time I spent with the table saw when I built the table you'd think I'd be familiar with the all the options. I ended up trimming them to 10.5" so they were deep enough to hold some cookbooks without the edge of the book hanging off.
I just cut the boards quickly one day when I was out at my parents and I forgot to take pictures of that process, but I'm sure you can imagine what it looked like. The only thing to mention with these pine panels is to consider where the knots are in the wood and what you're doing with them. You might be alright with having some notches in the wood if a piece of a knot falls out, but I wanted a smooth edge for the shelves. So on one panel I trimmed 1.5" off one side, and one the other panel I cut 0.75" off each side to avoid the knots. Then I cut each panel in half to end up with four shelves that are each 10.5" x 30".
I gave them a quick sanding on all the edges to get rid of any slivers and smooth out the cut marks from the table saw.
Then I took them into the basement to stain the boards. I just covered my old kitchen table with a plastic table cloth from the dollar store to protect it. I also put down the newspaper to absorb any stain that might get dropped instead of having it sit on the plastic and probably get on my clothes.
I did two coats of stain and it's probably good that I had purchased more because it actually took most of that small can. I did the first coat after work one day and let them dry for 6 hours and did the second coat right before going to bed.
 |
| Top: First coat of stain, Bottom: Plain board |
 |
| Left side: One coat of stain, Right side: Two coats of stain |
I first started by marking with masking tape where I thought I wanted the shelves. It's kind of hard to see the tape on the wall in the picture, but the biggest thing I wanted to make sure was that the shelves wouldn't be in the same spot as either the top or bottom of the cabinets.
I used a stud finder, a tape measure, a level, and a piece of 2x4 mark the spots where I would drill the holes for the screws. The cordless drill I bought a couple months ago sure came in handy here. This would have killed my arm to do this manually!
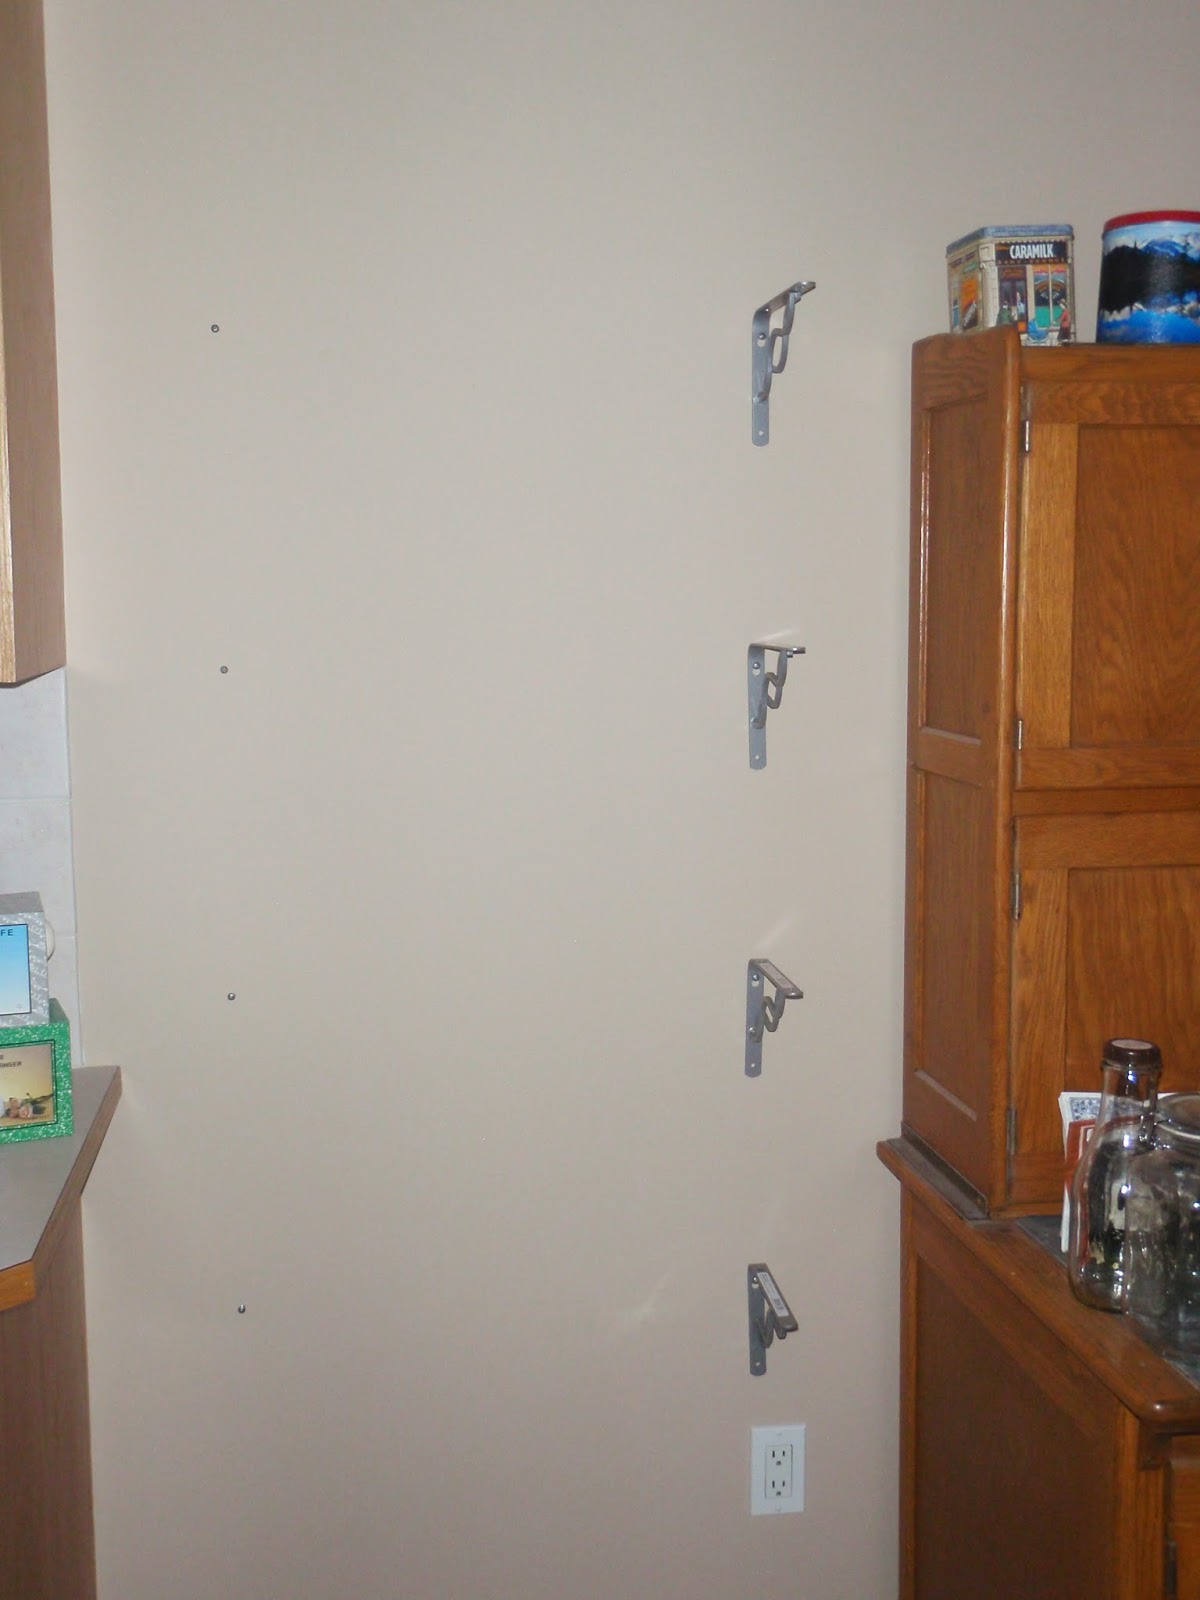
Here's one side of the brackets put up. The bottom one is 24" from the floor and they are spaced 14.5" apart. Kind of a funny number I know, but they needed to be far apart enough to hold the big jars, but I couldn't have the top shelf end up so high that I couldn't reach it. That's a serious consideration for us shorter persons.
At this point I haven't installed the bottom left bracket because I was still using it to mark the spots to put in the screws on the shelves.
Here's the test to see if I've actually got the shelf level as planned.
Success!
I played with moving things around on the shelves and had to put some things on the floor as it just looked too empty underneath. Maybe it's the spot to build some bins for potatoes and onions or something.
But now it's a lot of different woods in my kitchen area, so maybe the next thing to tackle is painting the cabinets. That'll be a big project but I'm not painting the table or my great-grandmother's antique baking hutch!
~Lisa


No comments:
Post a Comment