Saturday, 4 January 2014

Christmas cards


Back in October I started planning a Christmas Card making party. I wanted to get a bunch of ladies together and get a jump on Christmas projects. The plan was made for late November and RSVPs were in. But, unfortunately that weekend the snow came....lots and lots and lots of snow! And along with it the very cold weather. It turns out that at the last minute everything I had planned was off. Well, being the Crafty Girls that we are, we just improvised!


A few brave friends made it through the weather and we ended up creating cards here at my house!


This beautiful bird card was made with a grey base and a silver metallic poinsettia stamp on the background. The white was punched with the scallop edged and then stamped and embossed with silver sparkling powder. The little bows proved difficult for most of us, but they added the perfect final touch!


My favorite card! We created this one on a beige background layered with red. Using the wood grain background stamp in brown, then adding in foliage in green and brown. The sentiment is stamped in bright red to make it pop. I love the vintage look so I distressed the edges of this one, too. The addition of the green twine and the button make the rustic look come together.

A nice change to the traditional red and green, this blue card is a stunner! Using white as our base we stamped the trees and sentiment in blue and used pastel chalks to create the night sky. Some silver metallic snowflakes were added to the sky and a sprinkling of glitter on the trees and the ground. This is a classic clean and simple Christmas card.


We made this Santa postcard one using a variety of stamps. First we stamped the background script in a light brown, then added the 'stamp' and the 'Post Card' in dark brown. Using red ink, we stamped the Santa and then used the tag punch to create the shape. After mounting it to the red and punching a hole at the top, the little string tie creates a simple tag! The same red ink was used for the sentiment, and again mounted on red. With a bit of distressing of the edges using the dark and light browns, we easily pulled this vintage look together.

This green card was a lot of fun to make. We used a white base for our word and embossed it in black. This created the border lines for our own colour and designs with fine tip markers. Using a variety of strips and textures we created a few banners to add to the card. People really used their creative minds for this one!
It turned out to be a great afternoon crafting cards with friends and a wonderful way to spread some holiday cheer!

Did you receive a special handmade card for Christmas?
Lucky you if you did! That means a Crafty Girl loves you!


~Jessica

Tuesday, 10 December 2013

Microwave potato chips

Potato chips are my snack of choice and I basically have zero willpower. I cannot have them in my house or else I can hear them calling my name from the top shelf of the pantry. It's not the potato I crave (I can leave those in the pantry until they're growing their own sprouts to make new potato friends) but deep fried and coated with some salt is delicious to me, so when I saw this on Pinterest I figured I needed to try it out because it might be a nice option to just make a few and then be done.

Courtesy of Caroyln Jung: http://www.foodgal.com/2010/01/microwave-potato-chips-really/
These instructions are copied directly from that site, so I pass on all credit to her. This is just my review of the process. 

Microwave Potato Chips
(makes 4 servings, 12-14 chips each)
1 1/3 pounds Yukon Gold or red potatoes, unpeeled, scrubbed
2 teaspoons or so of extra-virgin olive oil
1/2 teaspoon salt
Cooking spray
Slice potatoes into 1/8-inch rounds for thicker potato chips. For thinner ones, use a mandolin to cut very thin slices. Toss slices in a medium bowl with oil and salt to coat evenly.
Coat a large microwave-proof plate with cooking spray. Arrange some potato slices in a single layer on the plate. Microwave, uncovered, on High until some slices start to brown, 2 to 3 minutes (depending upon potato thickness and microwave power). Turn slices over (they will be hot, so take care with your fingers) and continue microwaving until they start to crisp and brown around the edges, about 35 seconds for very thin potato slices to 2 to 4 minutes for thicker slices. Check frequently and rearrange slices as needed to prevent scorching. Transfer chips to another plate and allow to cool completely. (They will crisp up more as they cool.) Repeat process with remaining slices.
Storage: Store in an airtight container for up to 3 days.


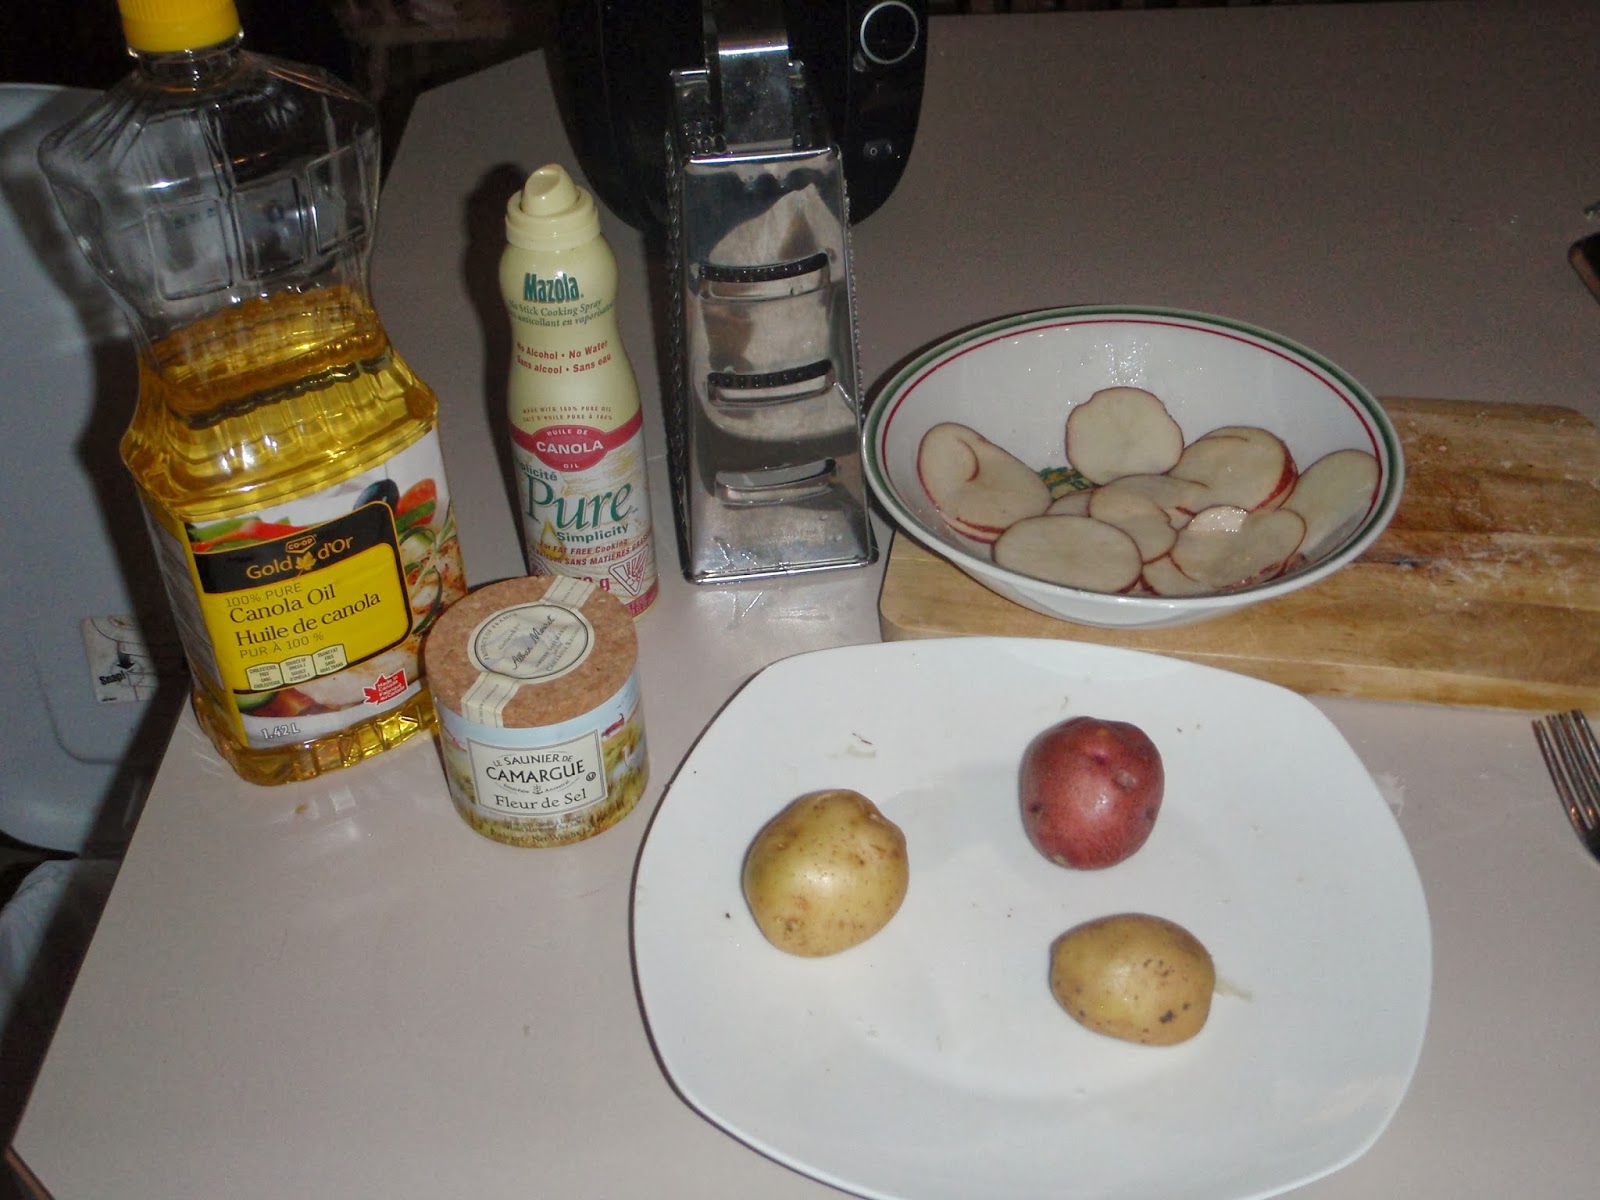
I started with three potatoes and tried to use the slicer side of my grater. I probably spent a dollar on that grater and this is a case of where you get what you pay for. It's fine for grating cheese, not so much for the slicing option. So I tried to slice them thinly with a knife, but they just don't end up as even. If you want to make these and you want a thin chip, definitely use a mandolin.


For the first round I did forget to spray the plate and that does seem to make a difference for some reason. It took me three plates to do all the slices I had. I thought it would be a fairly quick process, but it's totally not. It probably took 45 minutes from start to finish! By the time you slice the potatoes, coat them, microwave, flip, microwave some more, flip the ones that aren't quite done and put them back in.... And all I got was one small bowl of chips! OK, plus the few I had to try during the process. So even going slow and trying to savour each bite, it took me about 8 minutes to eat them all.


They turned out alright, though some of the thicker ones were still a little chewy. Overall, I'd say they're more like a kettle chip than a standard chip.

From the recipe I used, I'm going to say who really wants only 12 chips? If you've been eating healthy and decided to finally cave, 12 is not going to make you happy. And why would you make them to store them? One of the benefits of making them at home is that they're still a little bit warm from being cooked.

To be honest, it wasn't worth my time. It would have been faster for me to drive down to the grocery store and spend the money for some chips made by the companies that have this process nailed down. And then if I've got some willpower, I actually have some left over to enjoy another day. It's what I ended up doing anyway since I was a little disappointed in how these turned out :)

~Lisa